
 English
 Español
 عربى
عربى
 Home / Blog / Industry News / How to Waterproof a Bathroom Wall: Substrate, Membrane, Film and Sealing Guide
Industry News
How to Waterproof a Bathroom Wall: Substrate, Membrane, Film and Sealing Guide
2026-09-28
Water rarely damages a bathroom wall in one dramatic event. It arrives as condensation running down a cold tile, as splash from a hand shower, and as a slow capillary creep through grout that was sealed five years ago. By the time the plasterboard behind the tiles feels soft, the repair has moved well past a tube of sealant.
This guide is written for the people who specify, buy and install the finish: facility managers, fit-out contractors, and panel or cabinet producers supplying bathroom wall systems. It covers the order of work, the tolerances that decide whether a wall stays dry, and where a decorative film genuinely belongs in a wet area.
The short answer: you cannot waterproof a bathroom wall by covering it. Waterproofing is a four-layer system: a moisture-tolerant substrate, a membrane across the wet zone, a bonded surface layer, and mechanically sealed joints and penetrations. A self-adhesive decorative film is the visible top layer of that system. It handles splash and condensation well, but it will not rescue a damp substrate, an unsealed corner, or a gap around a pipe.
Everything below follows that sequence. Skip a layer and the finish becomes the first thing to fail.
Content
- 1 Why Bathroom Walls Fail: Four Mechanisms
- 2 The Four Layers Every Wet Wall Needs
- 3 Comparing Bathroom Wall Finishes
- 4 Where Bathroom Wall Leaks Actually Start
- 5 Where Self-Adhesive Wall Film Earns Its Place
- 6 Installing a Wall Film in a Wet Area: Six Steps
- 7 Payback: What the Numbers Say
- 8 Maintenance and Compliance
Why Bathroom Walls Fail: Four Mechanisms
Most bathroom wall failures are not material failures. They are sequencing failures. Four mechanisms account for the large majority of call-outs.
1. Capillary ingress at joints
Grout is porous and silicone debonds over time. A 1 mm gap running the height of a shower wall can admit litres of water per year behind the finish, into a cavity that never dries.
2. Vapour drive and condensation
Warm, humid shower air meets a cold external wall. Vapour passes through the finish and condenses inside the assembly, so the surface reads dry while the board behind it stays wet.
3. Adhesion loss on damp or alkaline substrates
Fresh cement, gypsum and skim coats release moisture and are alkaline. Adhesives that tolerate neither lift at the edges within weeks, and a lifted edge is a direct path for water.
4. Movement and thermal cycling
Bathroom surfaces swing between roughly 15 °C and 35 °C. Rigid finishes crack at internal corners unless a flexible joint is designed in from the start.
The Four Layers Every Wet Wall Needs
Layer 1: Substrate and preparation
In the wet zone (the shower footprint plus 300 mm in every direction, full height) use a moisture-tolerant board: cement board, fibre-cement, WPC or marine-grade plywood. Gypsum board and MDF are acceptable only outside the splash zone, and even then they should be primed. The substrate must be flat within about 2 mm over 2 m, dust-free, and below the adhesive's moisture limit, typically 4-5% for wood-based boards and around 3% for gypsum on a pin meter.
Layer 2: Tanking or a liquid waterproof membrane
Apply a flexible cementitious or polyurethane membrane across the whole wet zone, not just behind the shower rose. Embed reinforcing tape into the first coat at every internal corner, at the wall-floor junction, and around pipe penetrations, then apply a second coat at right angles to the first. Extend the membrane 150-300 mm past the enclosure so splash that escapes the screen still lands on a sealed surface. Cure for 12-24 hours before bonding anything over it.
Layer 3: The visible surface layer
This is where tiles, panels or decorative film go. Film brings two advantages: it is thin, so it does not eat into the usable area of a small room, and it can be installed over a prepared wall without wet trades. It brings one constraint: a 0.1-0.2 mm film cannot bridge a crack or cover a moving joint. Where the substrate moves, the film must be cut and the joint sealed with a flexible bead.
For walls that are already tanked and flat, a permanent self-adhesive interior film with an air-release channel is the practical choice. A marble-pattern PVC wall film delivers a stone look at a fraction of the installed weight and cost of a tiled equivalent, and it can be specified as one of several moisture-resistant options for kitchens and bathrooms rather than a one-off solution.
Layer 4: Joints, edges and penetrations
Every leak path is a joint. Seal the top and bottom edges of the finish, all internal and external corners, and every pipe, valve and fixing with a neutral-cure silicone. Acetic-cure products can attack the plasticiser in PVC film and discolour stone-look surfaces. Lay a bead, tool it once, and leave a 1-2 mm gap where two materials meet so movement is absorbed by the sealant rather than the finish.
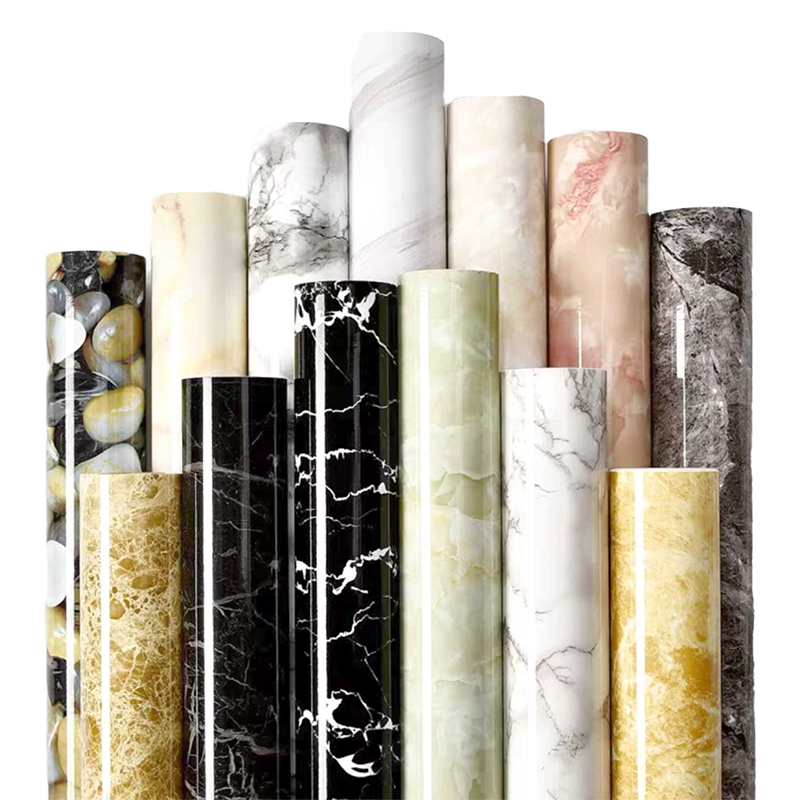 Marble Series PVC Wall Stickers with Marble Pattern1. Highly realistic marble pattern with natural, fluid veining and a texture that rivals natural stone. 2. Made from high-quality PVC; waterproof, moisture-resistant, ...View Product →
Comparing Bathroom Wall Finishes
Finish
Liquid water resistance
Vapour behaviour
Cost (USD/m²)
Install time
Service life
Ceramic tile over tanking
Excellent
Low transmission
60-120
3-5 days
20+ years
Tongue-and-groove PVC panel
Excellent
Moderate
25-45
1-2 days
10-15 years
Self-adhesive wall film over sealed substrate
Good, splash and condensation
Passes through film and substrate
8-18
3-6 hours
5-8 years
Waterproof paint over skim coat
Moderate
High transmission
6-12
2-3 days
3-5 years
Microcement over tanking
Good
Moderate
40-80
5-8 days
8-12 years
Indicative 2026 material-and-labour ranges for a mid-size commercial project; service life assumes joint sealant is inspected annually and replaced every three to five years.
Where Bathroom Wall Leaks Actually Start
The failure pattern reported by installation partners is consistent, and it is rarely the finish itself. The indicative split below is worth remembering when a programme is squeezed and the sealing stage is the first thing cut.
Joints & old sealant 61%
Grout & micro-cracks 19%
Pipe penetrations 12%
Film or coating itself 8%
Indicative distribution, not a survey result. The pattern matters more than the exact figures: nine out of ten problems are found where two materials meet.
Where Self-Adhesive Wall Film Earns Its Place
Film is not the right answer for every bathroom wall. It performs best where the substrate is already sealed and flat, where downtime is expensive, or where added weight matters. The split below reflects the segments where roll-applied wall film is most commonly specified.
- Residential refurbishment and rentals: 42%
- Hospitality and short-stay bathrooms: 24%
- Commercial washrooms and retail: 18%
- Healthcare and care homes: 10%
- Marine, modular and other: 6%
Two segments deserve a note. In healthcare, cleanability and resistance to repeated disinfection usually matter more than pattern choice. In hospitality, the decisive factor is often that a room returns to service in half a day, which is exactly what a roll-applied wall film allows.
Installing a Wall Film in a Wet Area: Six Steps
1
Measure and map
Record wall area, outlet and valve centres, and every joint. Allow 30-50 mm overlap at internal corners and 20 mm at the floor. Anything worse than 2 mm of flatness over 2 m must be filled first.
2
Strip, clean and dry
Remove old sealant, soap residue and loose paint. A pin meter reading below 4-5% on wood-based board is the usual green light; gypsum should read around 3%.
3
Fill, sand and prime
Skim filler, sand flush, remove dust, then apply an acrylic primer. This stops the adhesive grabbing a dusty surface and reduces telegraphing of repairs. Allow 2-4 hours.
4
Tank the wet zone
Liquid membrane plus corner tape, cured 12-24 hours. Never install film over a membrane that is still releasing solvent or moisture.
5
Hang the film
Start at a vertical corner, peel back 300 mm of liner, align the edge and squeegee from the centre outwards. For an air-release film, work in 1 m sections and keep a pressure roller for edges. Overlap horizontal seams by 5-10 mm so water is shed downwards.
6
Seal and cure
Neutral-cure silicone along the top, bottom and side edges and around every penetration. No water for 24 hours, no abrasive cleaning for 72 hours, and a joint inspection at seven days.
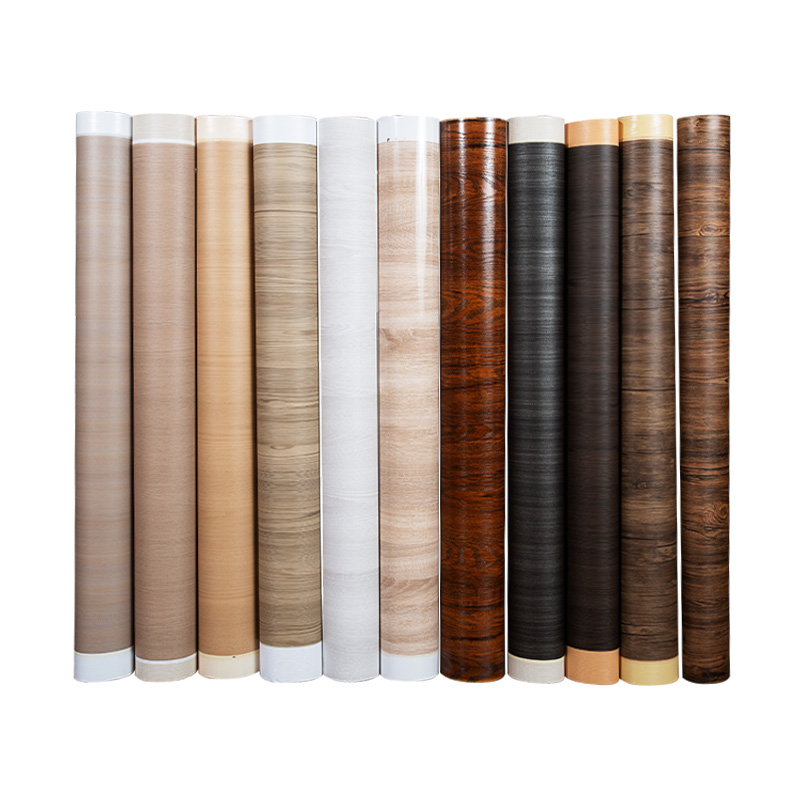
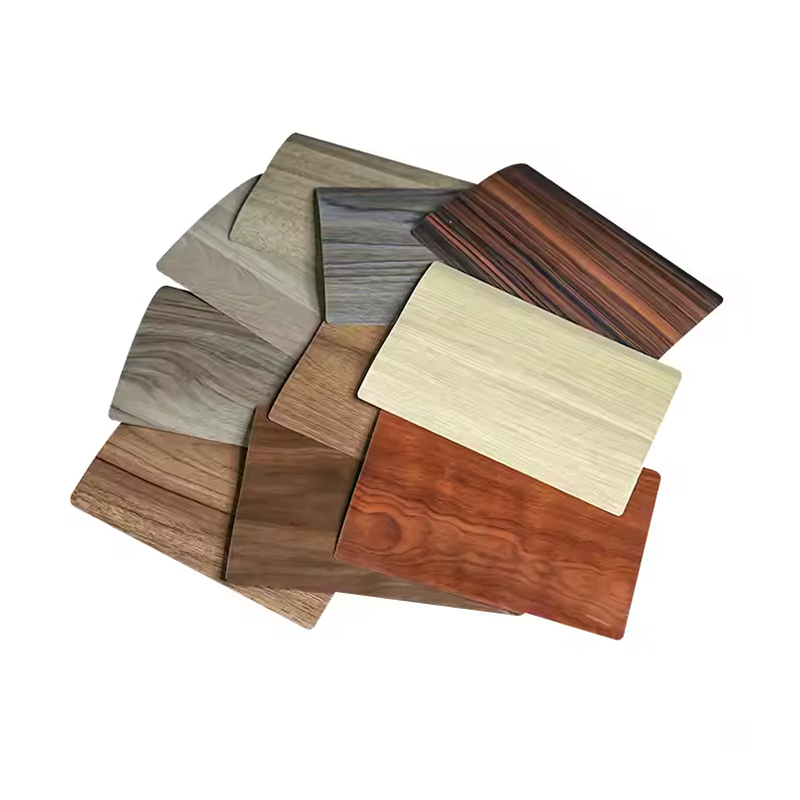
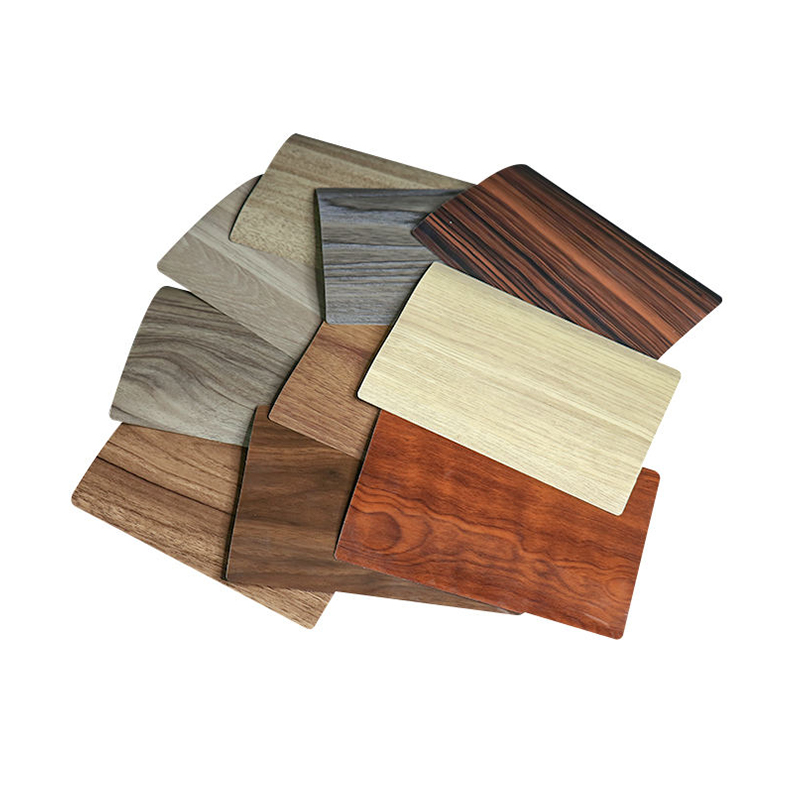
In a dry or splash-only zone, a wood-grain or fabric-texture interior film is often sufficient on its own once the wall is primed and flat, and it keeps the same joint-sealing discipline.
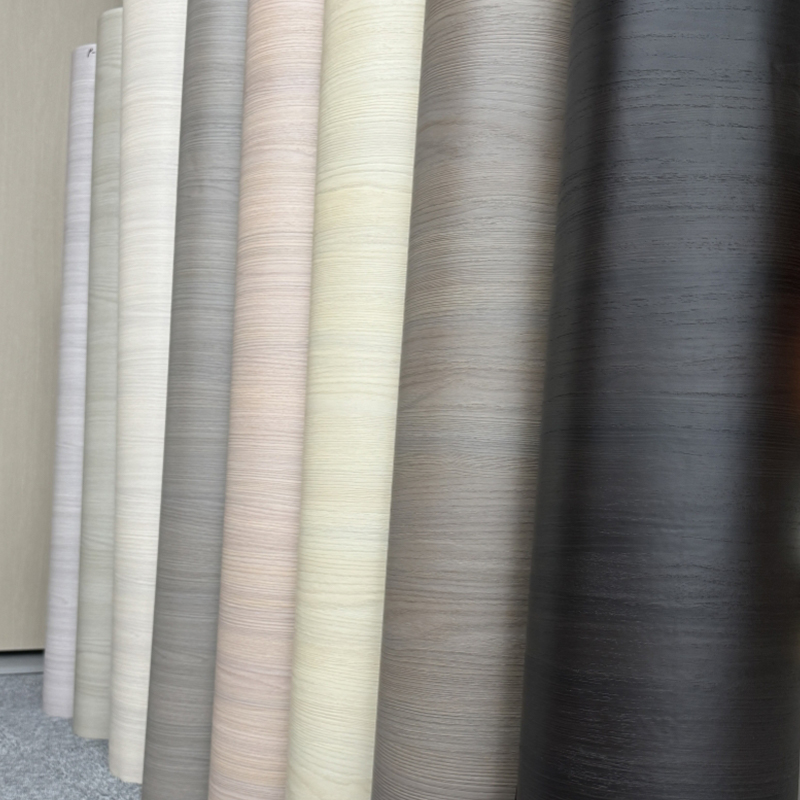
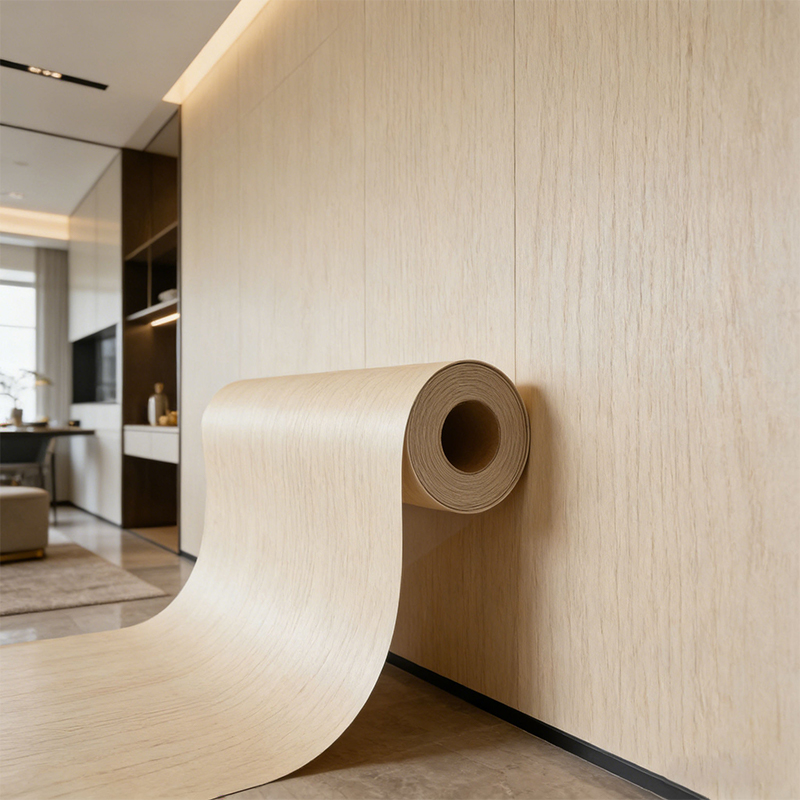 Light Oak Wood Grain Self Adhesive Decorative Film1. Light oak grain offers a fresh, natural look, adding a warm, inviting texture to the space. 2. High-precision printing technology ensures realistic, intricate grain...View Product →
Payback: What the Numbers Say
Covering a 4 m² splash wall with roll-applied film typically takes three to six hours and costs USD 8-18 per square metre including primer and sealant. Retiling the same wall, with the tanking redone properly, runs USD 60-120 per square metre and three to five days of wet trades. The film needs refreshing sooner, so allow five to eight years against twenty-plus for tile, but the installed cost is roughly a fifth and the room stays in service throughout. That gap is why film wins most refurbishment comparisons and loses most new-build ones.
Maintenance and Compliance
Cleaning without destroying the finish
Use a pH-neutral cleaner with a soft cloth. Abrasive cream cleaners and scouring pads scratch the surface, and solvent-based products can migrate plasticiser out of a PVC film, leaving it brittle. Do not leave concentrated bleach sitting on a sealant line: it shortens the life of the silicone, which is the part actually holding the water out.
Inspection rhythm
- Every six months: inspect silicone at the shower base, internal corners and around valves, and re-seal any line that has lifted or hardened.
- Every three to five years: cut out and replace the sealant as planned maintenance, not as a repair.
- Continuously: run the extractor for 15 minutes after a shower and aim to hold relative humidity below 60%.
Points to confirm before specifying
- Fire classification of the wall lining, since commercial corridors and escape routes usually require a B-s1, d0 or Class A rated surface.
- VOC and emissions testing for interior use, supported by a chamber-method test report.
- Chemical resistance to the specific disinfectants used in healthcare or food-adjacent settings.
- The documented substrate moisture limit and installation temperature range from the adhesive supplier, because warranties are normally void outside them.
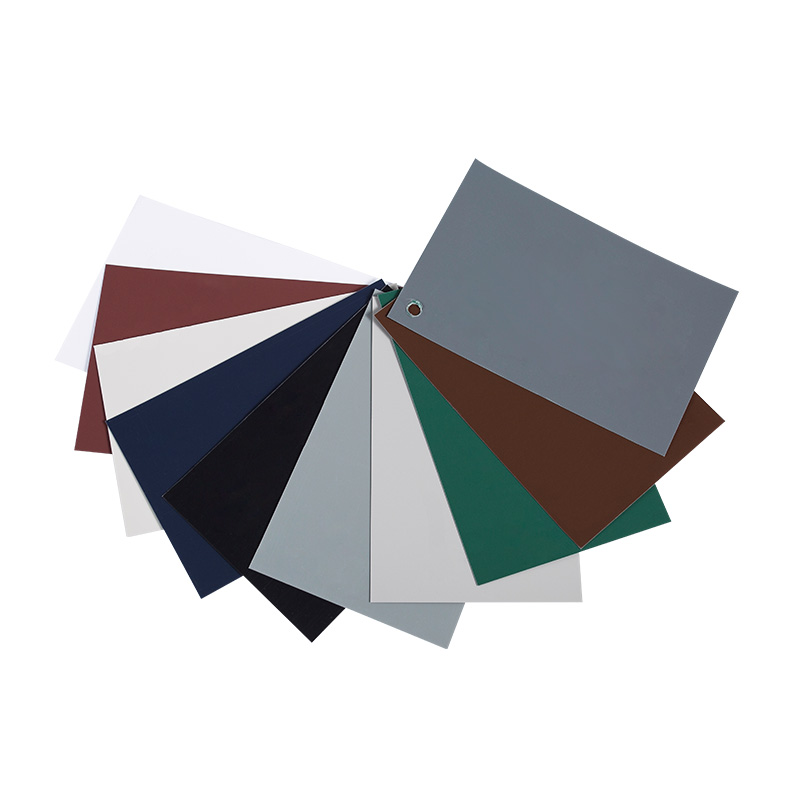
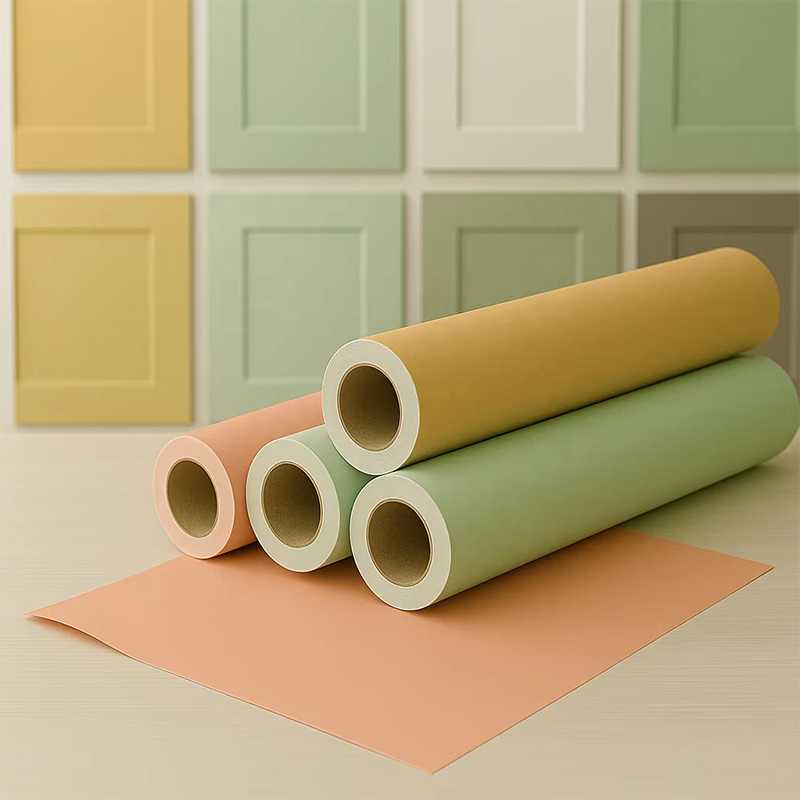 Colorful Solid Color Wallpaper Decorative Film1. Available in a wide range of colors; the versatile solid-color design complements various decorative styles. 2. Features a smooth, refined finish with rich, long-la...View Product →
Waterproofing a bathroom wall comes down to an order of work: dry and flatten the substrate, tank the wet zone, bond the surface layer, then seal every joint and penetration with a flexible neutral-cure product. Get those four layers right and the finish becomes a design decision rather than a risk decision.
If the wall sits in a splash zone and the substrate is already sound, a self-adhesive film is the fastest route to a water-resistant, easy-clean surface. Send us your wall dimensions, substrate type and zone plan through our contact page and we will confirm which film, primer and sealant combination suits the assembly.
Recommended Articles
-
1.1 What is PP Decorative Film? PP decorative film is a type of surface material made primarily from polypropylene, a versatile and widely used thermoplastic po...
View More -
Is your furniture looking tired, outdated, or damaged? Imagine transforming it effortlessly into something stunning, durable, and uniquely yours. Enter PVC deco...
View More -
1.Introduction Edge banding is a crucial finishing process used in woodworking and furniture manufacturing to cover and seal the exposed sides of materials such...
View More
Xuanyi

Feel free to contact us
Xuanyi, dedicated to the application and research and development of new materials. Furniture Decorative Film Maufacturers and Factory.
Product Fast Links
Contact Information
-
 Room G, 4th Floor, Bailingshi Building, Haizhou Street, Haining City, Jiaxing City, Zhejiang Province, 314400, China
-
 [email protected]
-
 +86-15059290610
-
 +86-15059290610
Copyright © 2024Jiaxing Xuanyi International Trade Co.,Ltd All Rights Reserved. PVC/PP/PET Lamination Film for MDF WPC Plywood

