
 English
 Español
 عربى
عربى
 Home / Blog / Industry News / How to Remove a Vinyl Wrap: Heat, Angle, Adhesive Cleanup, and Panel Care
Industry News
How to Remove a Vinyl Wrap: Heat, Angle, Adhesive Cleanup, and Panel Care
2026-09-21
A wrap that has spent five summers in the sun does not come off in one clean sheet. It cracks into flakes the size of a fingernail, the adhesive underneath has turned tacky and dust-hungry, and every pull that is too fast takes a little paint with it. The same scene repeats on kitchen cabinet doors covered with self-adhesive film, on office partitions carrying printed graphics, and on shop counters that were refaced years ago.
Removal is not a test of strength. It is a test of temperature, angle and patience, and all three can be measured before you touch the film.
The short version: warm the film to 40-60°C (104-140°F), lift a corner, then peel the film back on itself at a low 30-45° angle in short pulls of 2-5 cm. Let heat work instead of force. Cold film tears into strips, film above roughly 80°C turns the adhesive into a smear, and pulling straight out from the panel instead of back on itself is the most common reason paint, drywall paper or a laminate face comes away with the wrap.
Budget the job by film age rather than panel size. A one-year-old wrap on a mid-size vehicle is roughly two hours of careful work; a cracked five-year-old wrap on the same vehicle is closer to nine.
Content
- 1 Why Vinyl Fails Before You Peel It
- 2 Removal Parameters: What the Numbers Look Like
- 3 A Removal Sequence That Protects the Surface
- 4 Hidden Numbers: Time, Waste and Damage Risk
- 5 Where Removal Work Actually Comes From
- 6 Removing Film From Walls, Cabinets and Furniture Panels
- 7 Replacing What Came Off Without Repeating the Problem
- 8 Maintenance and Compliance After Removal
Why Vinyl Fails Before You Peel It
Vinyl does not grip harder with age; it changes chemically. Knowing which mechanism is at work tells you whether to reach for heat, solvent or a plastic blade.
- Plasticiser loss and migration. The plasticisers that keep vinyl flexible migrate into the adhesive layer over time, so the bond weakens near the surface but the residue becomes stickier and harder to wipe.
- UV and heat cycling. Daily expansion and contraction builds micro-cracks. Once a crack reaches the edge, the film stops peeling as a sheet and starts breaking into flakes.
- Substrate grip. The film is rarely the weak point. Weakly bonded respray, chalky drywall primer or an old lacquer finish will fail before the adhesive does.
- Adhesive cure level. Under-cured adhesive flows into texture and locks in; fully cured adhesive releases with steady heat.
The four film families you will meet behave differently at the scraper:
Cast automotive wrap
Thin and conformable, usually the easiest to lift. Warm it and it comes away in wide continuous sheets. Expect edge cracking after four to six years of strong UV.
Calendered promotional vinyl
Thicker, stiffer and more aggressively glued. It releases in narrow ribbons and leaves more residue, especially on matte or textured surfaces.
Self-adhesive interior film
Lower tack by design so it can be repositioned during fitting. It leaves glass, laminate and sealed paint cleanly, but pulls drywall paper when the wall was never sealed or primed.
Exterior architectural film
Built with UV blockers and heavier adhesive for weather exposure. Removal normally needs steady heat plus a solvent step, because the adhesive has cross-linked with age.
Removal Parameters: What the Numbers Look Like
Every removal decision comes down to a handful of settings. Miss them on the low side and the film tears; miss them on the high side and you damage what sits underneath.
Table: working ranges for vinyl wrap removal and the failure each extreme produces.
Parameter
Working range
Too low
Too high
Film surface temperature
40-60°C
Film tears into strips, adhesive stays cold and grabs
Above 80°C the adhesive smears and paint softens
Peel angle
30-45°, film folded back on itself
A flat pull stretches film and thins it into ribbons
Pulling straight out lifts paint and drywall paper
Pull length per stroke
2-5 cm
Strokes under 2 cm slow the job without lowering risk
Long pulls cool mid-stroke and snap
Scraper
Plastic blade with rounded corners, held at 30°
A flat blade digs into film edges and paint
Metal at a steep angle scratches coated panels
Ambient conditions
20-25°C, out of direct sun
Below 15°C the film shatters at the edge
Direct sun above 35°C makes adhesive stringy
A Removal Sequence That Protects the Surface
- Prepare the room. Work at 20-25°C, out of direct sunlight, with ventilation. Wash the film first so grit does not travel under your scraper.
- Test a hidden corner. Warm a 5 cm patch on the least visible edge and lift it. Whatever comes up with the film - paint, primer, drywall paper - tells you how to treat the rest.
- Apply heat in motion. A heat gun on its lowest setting, held 10-15 cm away and kept moving, is enough. For tight or thin surfaces, a wallpaper steamer or a hair dryer gives gentler, more even heat.
- Start at an edge, never the middle. Lift 2-5 cm, fold the film back on itself and keep the low angle consistent through the whole panel.
- Support the peel with a plastic blade. Guide the adhesive line, do not pry at it. Reheat at the first sign of resistance instead of pulling harder.
- Clear the residue immediately. Citrus-based removers for glass and metal, 70% isopropyl alcohol for most coated panels, warm soapy water for fresh glue. On glass, a vinegar soak of 10-15 minutes softens old adhesive before wiping.
- Inspect and prepare. Check for hazing, lifted coating and solvent film. Let surfaces flash off for 24 hours before applying anything new.
Hidden Numbers: Time, Waste and Damage Risk
Quote a removal job by film age, not by panel count. Labour rises steeply once the film cracks, because every flake has to be chased individually.
2 h
Under 1 year
4 h
1-3 years
6 h
3-5 years
9 h
5+ years, cracked
Chart: labour hours for a mid-size vehicle by wrap age. Three costs stay invisible in most quotes. Labour is the largest, because the gap between two hours and nine hours at shop rate dwarfs the price of any solvent. Waste is the second: a wrapped mid-size vehicle yields roughly 15-20 kg of vinyl that municipal recycling will not accept, so disposal has to be planned before the job starts. Rework is the third: when one resealed panel lifts with the film, the repair usually costs several times the labour of the removal itself.
Where Removal Work Actually Comes From
Removal demand is not spread evenly. Across businesses that handle both vehicle and interior film work, the request mix typically looks like this approximate split.
- Automotive restyling and fleet graphics: 45%
- Wall and interior film refit: 22%
- Furniture and cabinet refacing: 18%
- Marine and equipment panels: 8%
- Other surfaces, including glass and signage: 7%
The interior share matters because those substrates are softer than automotive clear coat. Drywall paint, MDF and low-pressure laminate fail earlier than painted steel or aluminium, so heat has to be applied more gently and the peel angle kept lower.
Removing Film From Walls, Cabinets and Furniture Panels
Interior films are thinner and less tacky than vehicle wrap, but the surfaces they sit on are far more fragile. Two adjustments save most jobs. First, drop the heat: a hair dryer or steamer at 15-20 cm distance is enough, because the goal is a pliable film, not a hot panel. Second, cut the seams where film meets silicone or caulk before pulling, otherwise the film tears along the joint and leaves a ragged strip that is far harder to lift later.
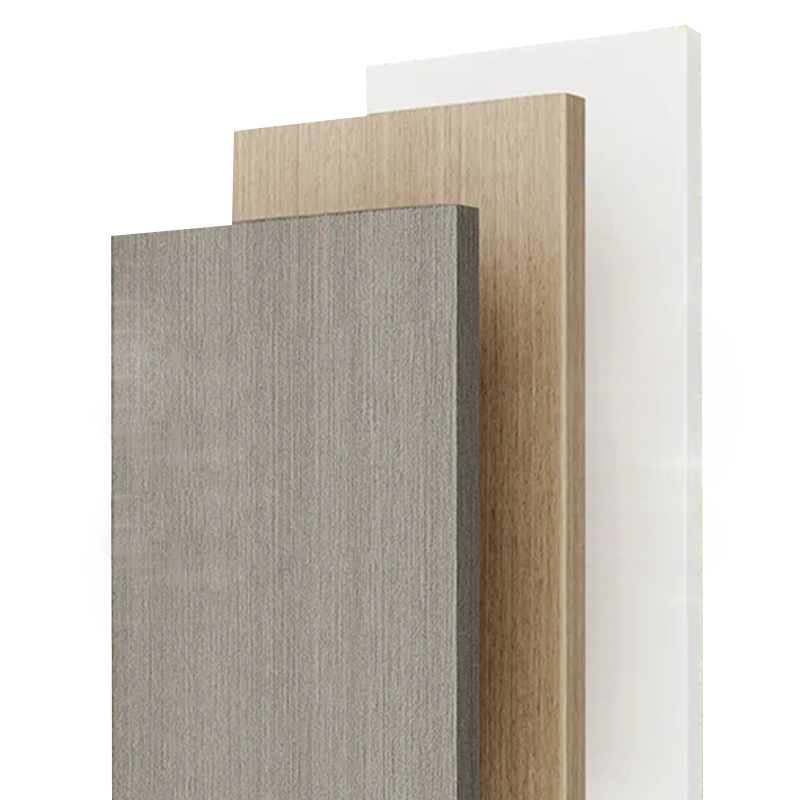
On sealed laminate and painted MDF, a warm film usually lifts in one piece. On unsealed drywall, expect paper to come with it and plan a patching and priming step. On melamine-faced board, heat softens the adhesive but also weakens the foil layer underneath, so keep pulls short and let the panel cool between passes. Surface compatibility and the original installation method decide how cleanly a self-adhesive film releases and how well a replacement will hold; practical notes on installation methods and surface compatibility are worth reading before refitting a wall or panel.
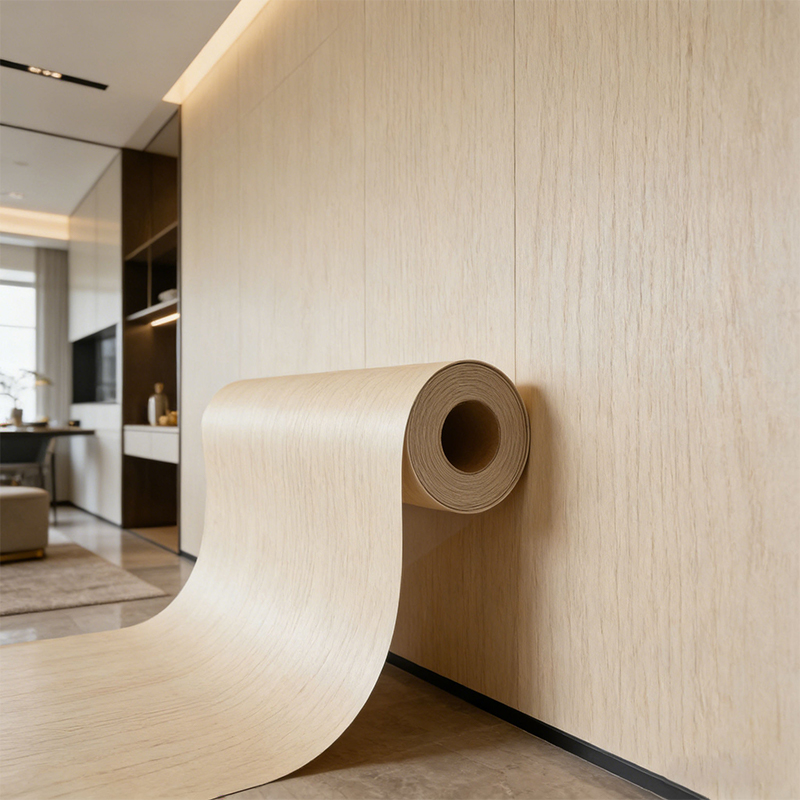 Light Oak Wood Grain Self Adhesive Decorative Film1. Light oak grain offers a fresh, natural look, adding a warm, inviting texture to the space. 2. High-precision printing technology ensures realistic, intricate grain...View Product →
For a cabinet door or wall section that was stripped bare, a light oak wood grain self-adhesive interior film is a practical replacement: low tack for repositioning, air-release channels to avoid bubbles, and consistent thickness so seams stay flat.
Replacing What Came Off Without Repeating the Problem
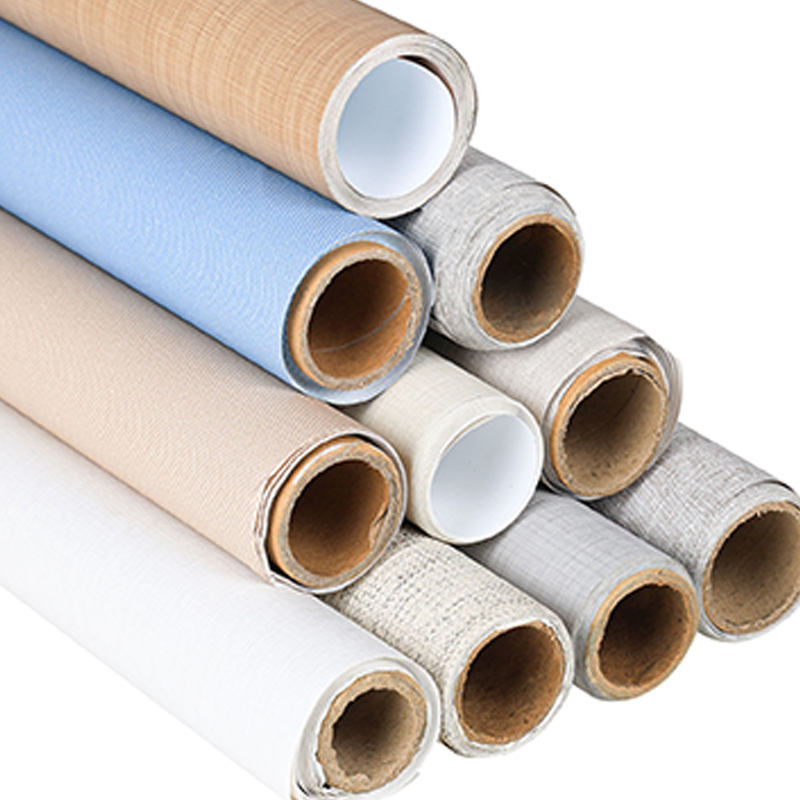
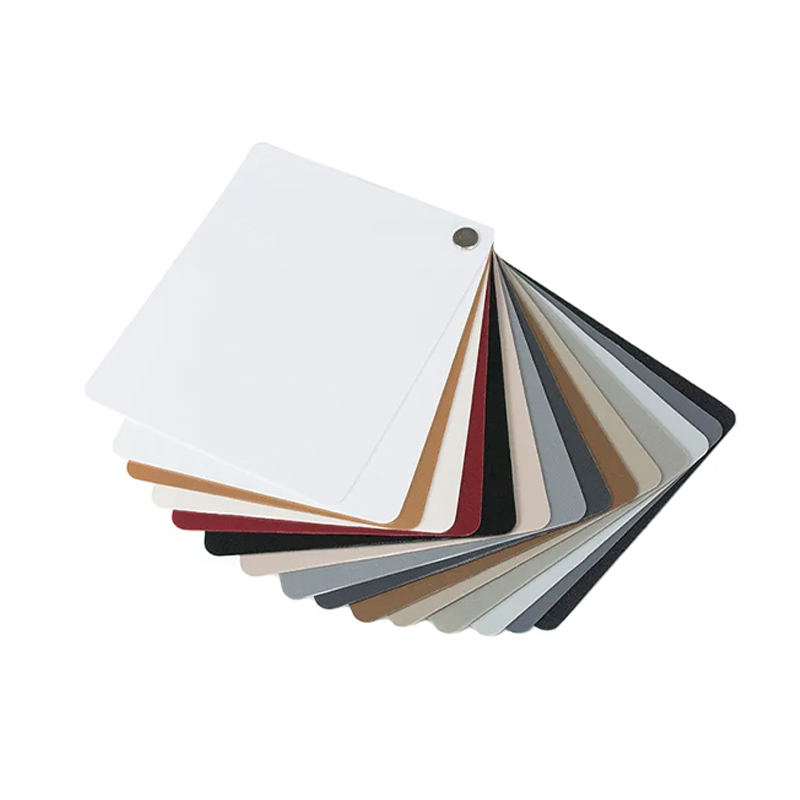
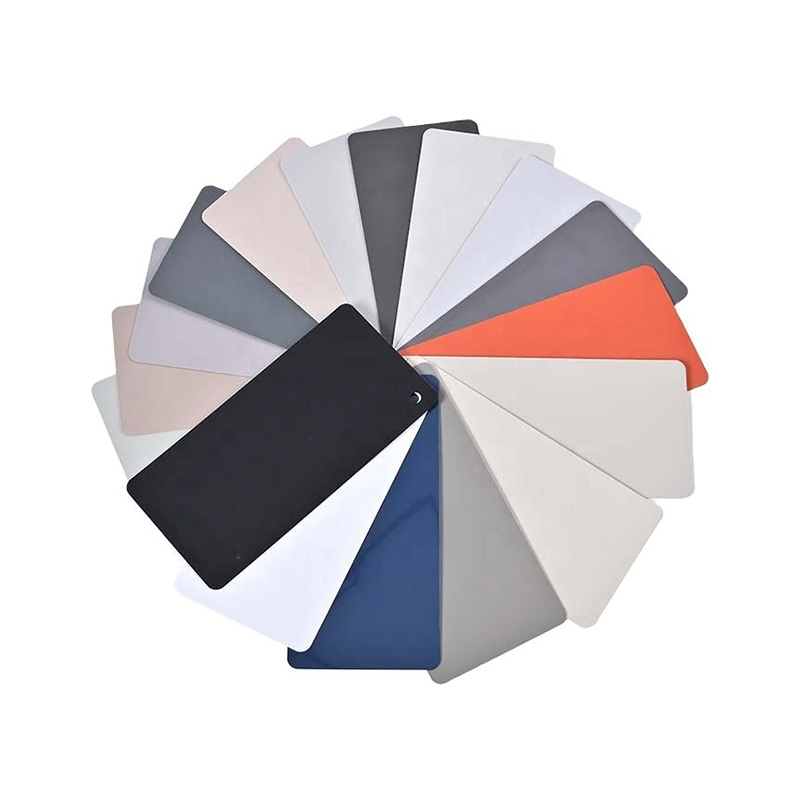
The replacement film decides how the next removal goes. Choose by substrate and process rather than by colour alone. PVC decorative film suits vacuum pressing, flat lamination and membrane doors and is the most forgiving for curved profiles. PP-based film offers a lower-gloss, easier-to-route material for panels that will be recycled. PET film holds the highest gloss and the most stable colour for cabinet faces that must match exactly across batches.
Adhesive quality is the part buyers cannot see and the part that determines future residue. A controlled coat weight and a fully cured adhesive release cleanly after years of service, whereas a heavy, under-cured coat flows into texture and becomes a scraping job later. That control comes from the coating line itself rather than from the sales sheet, which is why controlled coating and calendering deserves a place in supplier audits alongside price per roll.
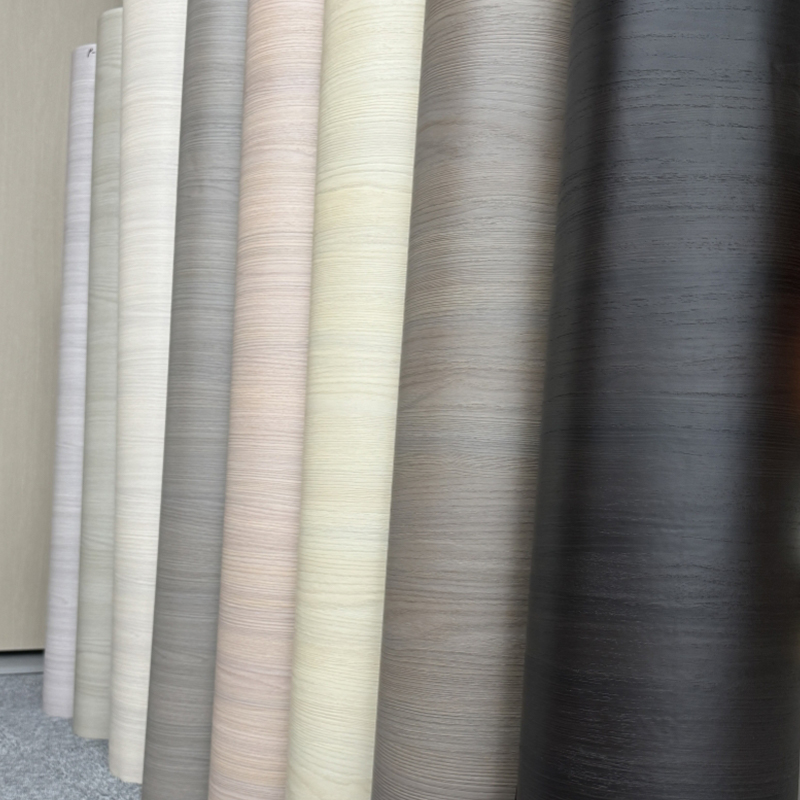
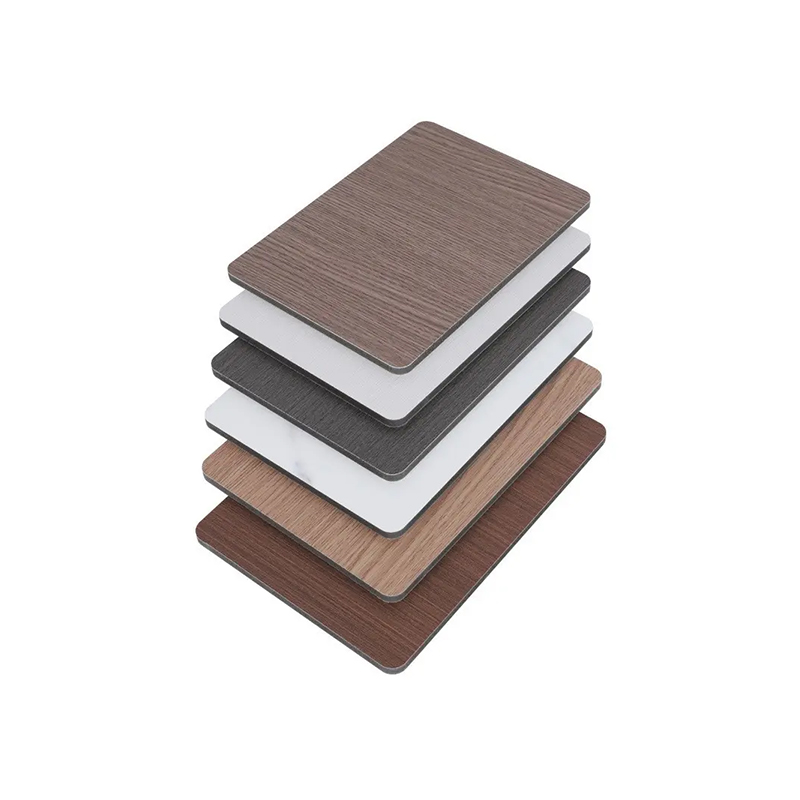
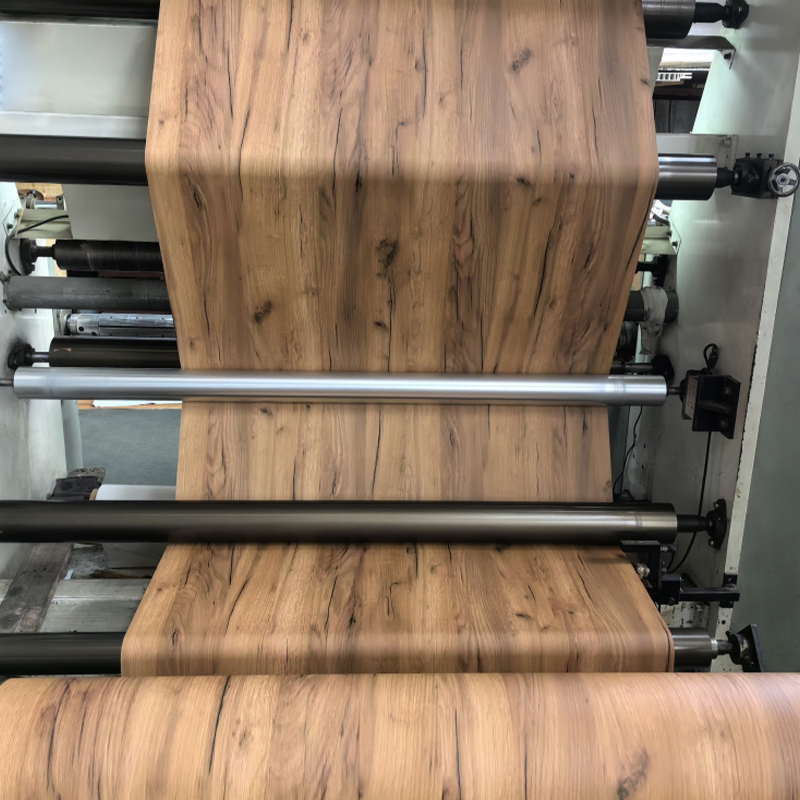 Wood Grain PVC Decorative FilmWood grain PVC decorative film is a high-simulation surface material made from polyvinyl chloride (PVC) through calendering or coating processes, combined with wood gr...View Product →
For pressed and flat-laminated panels, a wood grain PVC decorative film delivers the colour depth and texture that most refacing projects are trying to recover, and it works with standard vacuum and flat-press equipment.
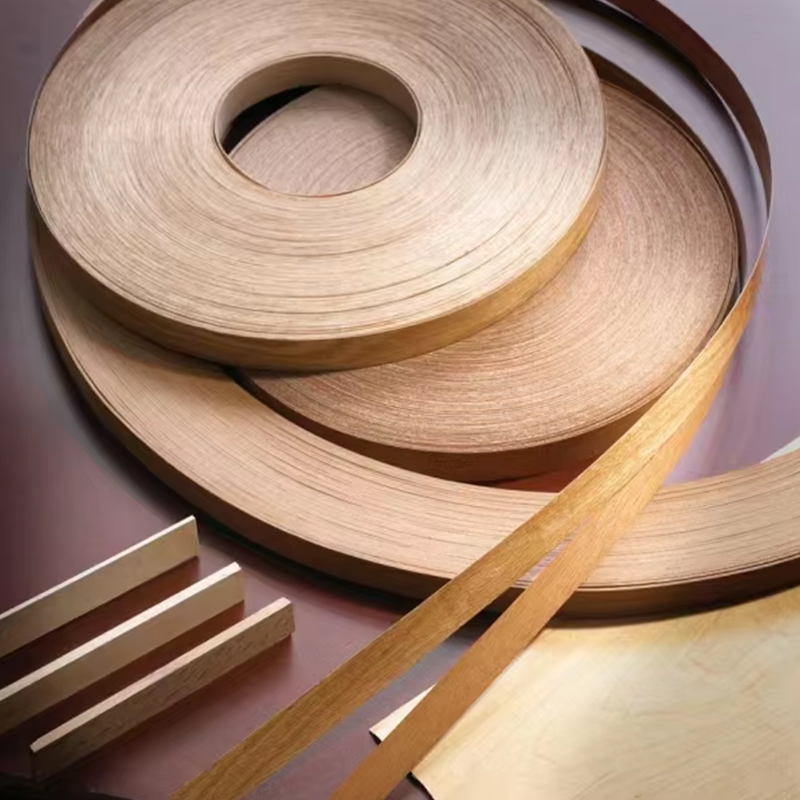
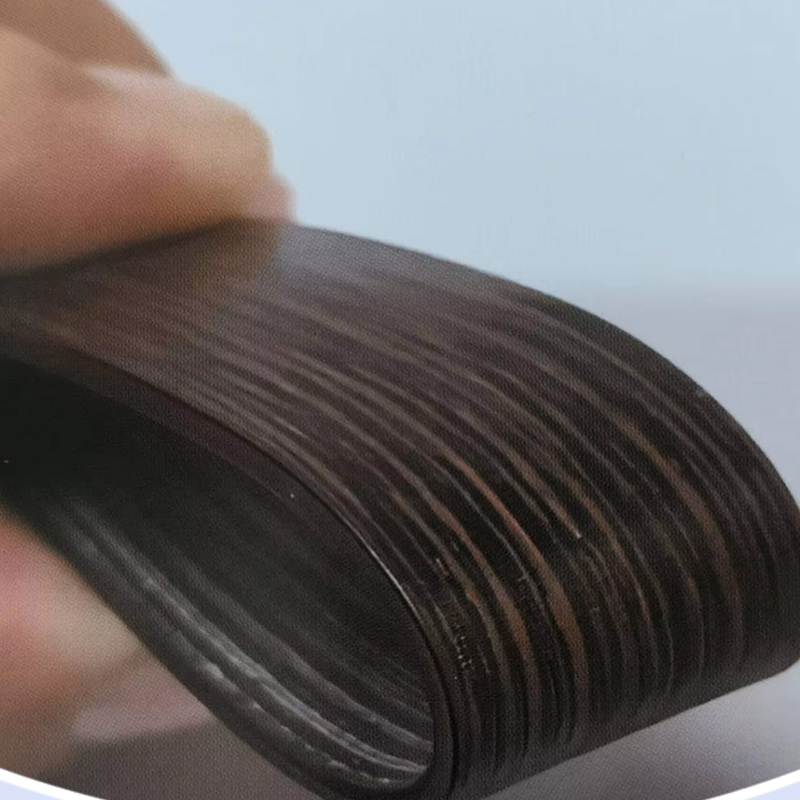 Anti-Whitening Flexible PVC Edge BandingAnti-Whitening Flexible PVC Edge Banding is engineered around a high-PVC-content formula that keeps the cut edge clean under repeated cutting and trimming. Whitening r...View Product →
Panels that have been stripped and refaced almost always need new edge treatment, and an anti-whitening flexible PVC edge banding keeps colour matched to the face film while resisting the whitening that appears when banding is bent during fitting.
Maintenance and Compliance After Removal
- Dispose of removed film as industrial waste. PVC film is generally not accepted in curbside recycling, while PP-based film can often be routed to industrial recovery or energy recovery depending on local rules.
- Match solvent to regulation. Citrus-based removers and isopropyl alcohol keep volatile organic compound levels low; chlorinated solvents should be avoided in occupied buildings.
- Ventilate indoors. Adhesive residue and solvent vapour both accumulate in closed rooms, so run extraction or open the space for the full removal window.
- Check certificate impact. Stripping and re-applying film on a panel sold under a fire or emissions certificate usually voids that certificate until the panel is re-tested.
- Wait before re-wrapping. Allow 24 hours for solvent to flash off, and around 30 days for a resprayed panel to cure before new film goes on.
Removal rewards preparation more than technique. Test one corner, keep the film at 40-60°C, pull back on itself at a low angle, and clear adhesive while it is still soft. Those four habits decide whether the job takes two hours or nine, and whether the surface underneath survives.
When the film is going back on, treat removability as a specification rather than an afterthought. Adhesive chemistry, coat weight and surface preparation chosen at purchase time are what make the next removal routine instead of risky.
Recommended Articles
-
1.1 What is PP Decorative Film? PP decorative film is a type of surface material made primarily from polypropylene, a versatile and widely used thermoplastic po...
View More -
Is your furniture looking tired, outdated, or damaged? Imagine transforming it effortlessly into something stunning, durable, and uniquely yours. Enter PVC deco...
View More -
1.Introduction Edge banding is a crucial finishing process used in woodworking and furniture manufacturing to cover and seal the exposed sides of materials such...
View More
Xuanyi

Feel free to contact us
Xuanyi, dedicated to the application and research and development of new materials. Furniture Decorative Film Maufacturers and Factory.
Product Fast Links
Contact Information
-
 Room G, 4th Floor, Bailingshi Building, Haizhou Street, Haining City, Jiaxing City, Zhejiang Province, 314400, China
-
 [email protected]
-
 +86-15059290610
-
 +86-15059290610
Copyright © 2024Jiaxing Xuanyi International Trade Co.,Ltd All Rights Reserved. PVC/PP/PET Lamination Film for MDF WPC Plywood

